Installing a die casting mould the right way helps improve production quality and machine performance. A correct installation also reduces downtime, protects the mould, and extends its service life.
However, many factories still face problems because they ignore important installation details. Therefore, every operator should follow a clear process before production starts.
As a professional die casting machine manufacturer, Haichen Machinery recommends checking every installation step carefully. Good preparation saves time, improves efficiency, and helps produce stable casting parts.
Why Correct Die Casting Mould Installation Matters
A die casting mould works under high pressure and high temperature. Therefore, even a small installation mistake can lead to flash, poor filling, mould damage, or machine failure.
In addition, correct installation keeps the mould aligned with the machine. As a result, the injection system works smoothly, and the casting quality stays consistent. Moreover, a well-installed mould reduces maintenance costs and increases production efficiency.
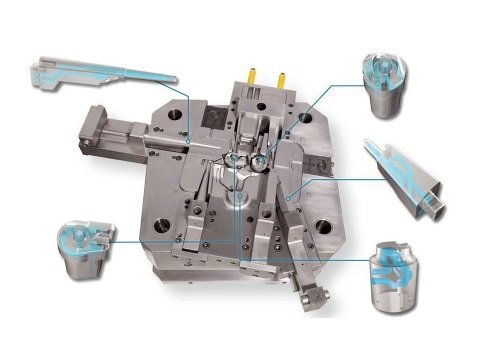
Check the Machine Before Installation
First, inspect the die casting machine. Make sure the platen stays clean and flat.
Next, remove dust, oil, and metal chips from the mounting surface. Even small particles can affect mould alignment.
After that, check the hydraulic system, cooling system, and lubrication system. Also, inspect bolts, clamps, and guide pins for wear or damage. If you find any problem, solve it before installing the mould.
An experienced die casting machine manufacturer always recommends regular machine inspection because it prevents unexpected production problems.
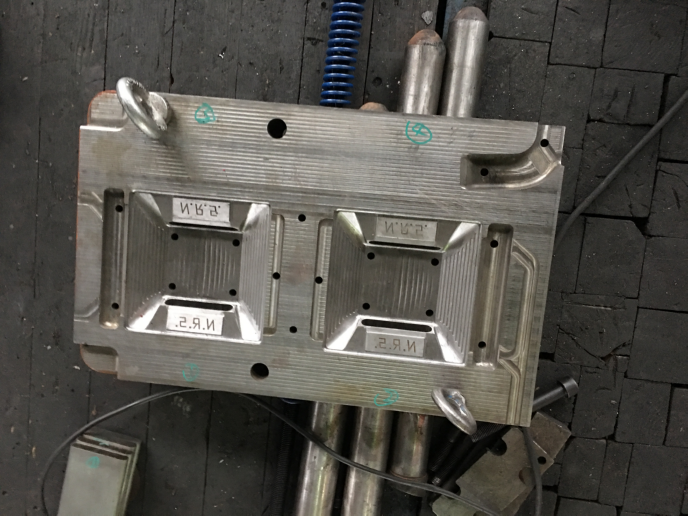
Inspect the Die Casting Mould
Before lifting the mould, inspect every important part. Check the cavity, core, ejector pins, cooling channels, and runners. In addition, make sure no cracks, rust, or dirt remain inside the mould.
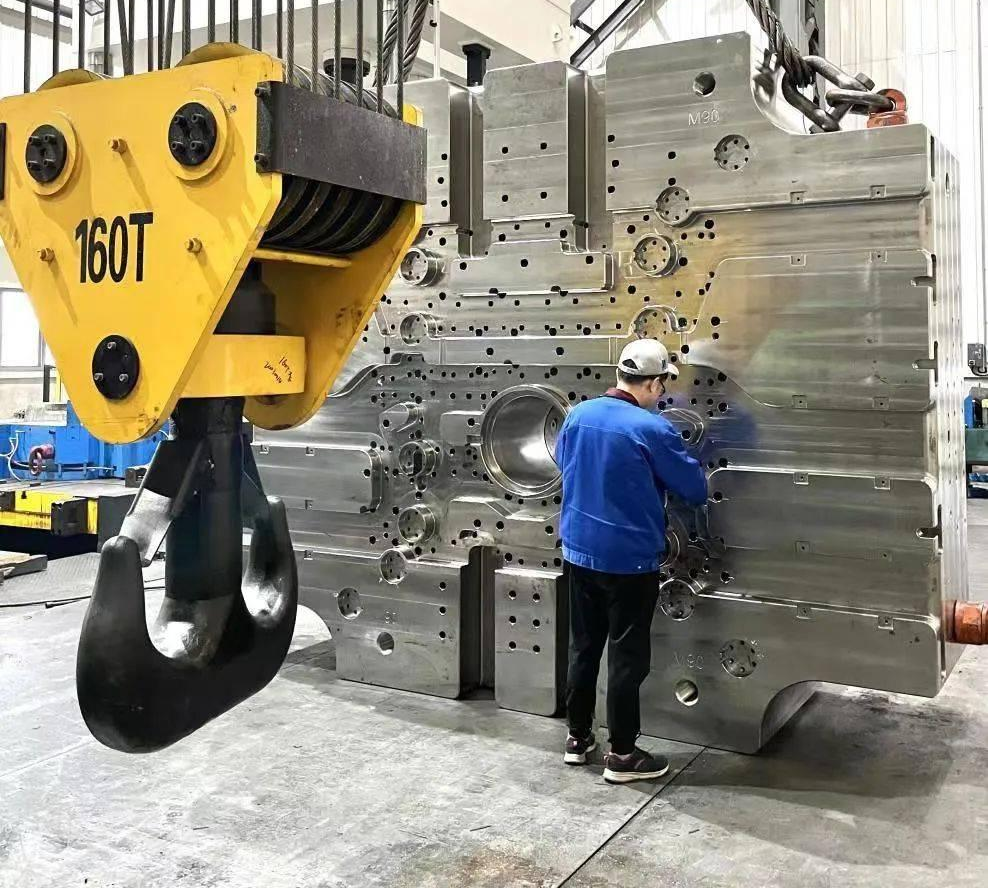
Then, verify that the mould size matches the machine specifications. Also, confirm that the mould weight stays within the machine’s lifting capacity. These simple checks help avoid safety risks and equipment damage.
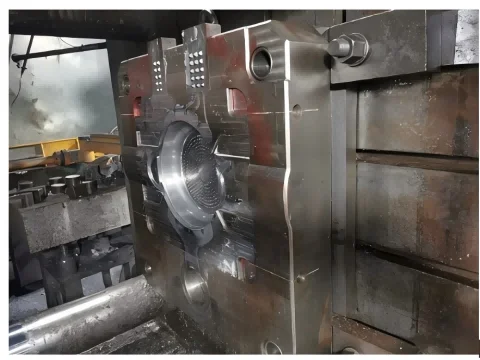
Install the Die Casting Mould Step by Step
First, lift the mould with suitable lifting equipment. Keep the mould balanced during movement. Never allow the mould to swing because it may damage the machine or injure workers.
Next, place the fixed half onto the stationary platen. Then, install the moving half on the moving platen. After that, tighten every bolt evenly. Do not tighten one side completely before the other because uneven force may affect alignment.
Furthermore, connect the cooling water pipes, hydraulic lines, and electrical cables correctly.
Check every connection carefully before starting the machine.
Finally, move the machine slowly to test mould closing. If you hear unusual noise or feel resistance, stop immediately and inspect the installation again.
Adjust Key Parameters
After installation, adjust the machine settings according to the mould design.
For example, set the correct mould thickness, clamping force, injection speed, and injection pressure. In addition, adjust the ejector stroke and cooling time.
Then, run several trial shots. Observe the casting surface, filling condition, and part dimensions.
If necessary, make small adjustments until production becomes stable.
A reliable die casting machine manufacturer usually provides technical support and parameter recommendations for different mould designs.
Therefore, working with an experienced supplier makes mould installation much easier.
Common Installation Mistakes
Many factories lose production time because they repeat the same mistakes. Therefore, operators should avoid the following problems:
- Installing the mould without cleaning the platen.
- Using damaged bolts or incorrect clamps.
- Ignoring mould alignment.
- Connecting cooling pipes incorrectly.
- Starting full-speed production without trial testing.
- Skipping daily inspection after installation.
Although these mistakes look simple, they often cause serious production defects and higher maintenance costs.
Tips for Better Installation Results
Good installation depends on both equipment and operator skills. Therefore, create a standard installation checklist for every mould change.
In addition, train operators regularly and record installation data after each production run. This information helps identify problems quickly and improves future installations.
Moreover, schedule regular maintenance for both the mould and the machine. Clean cooling channels, lubricate moving parts, and replace worn components on time. As a result, the mould performs better and lasts longer.
If you work with an experienced die casting machine manufacturer, you can also receive technical guidance, maintenance advice, and customized machine solutions that improve long-term production efficiency.
Final Thoughts
Correct die casting mould installation forms the foundation of stable and efficient production. First, inspect the machine and the mould carefully. Next, install every component accurately. Then, adjust machine parameters and perform trial production before full operation. Finally, maintain both the mould and the machine regularly.
Haichen Machinery, as a trusted die casting machine manufacturer, focuses on helping customers improve production quality, reduce downtime, and achieve higher manufacturing efficiency through reliable equipment and professional technical support.
FAQ
How often should I inspect a die casting mould?
Inspect the mould before every installation and after every production cycle. Regular inspection helps prevent unexpected failures.
Why does mould alignment matter?
Correct alignment reduces wear, improves casting quality, and protects both the mould and the machine.
Should I perform trial shots after installation?
Yes. Trial shots help you check filling quality, dimensions, cooling performance, and machine settings before mass production.
How can I extend mould service life?
Clean the mould regularly, lubricate moving parts, maintain cooling channels, and follow the correct installation process every time.


