Align plunger rod in die casting includes ensure the plunger rod parallel to the mold axis, use appropriate lubricants and optimize plunger heads etc.
A well-aligned plunger rod ensures smooth metal injection and prevents costly leaks. Misalignment causes wear on the sleeve and rod, leading to defects. This guide explains a clear method for checking and correcting plunger rod alignment.
The steps for aligning the plunger rod in the die casting machine can refer to the following methods:
- The plunger rod is parallel to the mold axis
- Use appropriate lubricants and optimize plunger heads
- Adjust the range of movement of the plunger rod
- Check the mechanical connection of the plunger rod
- Regular maintenance and inspection
The plunger rod is parallel to the mold axis
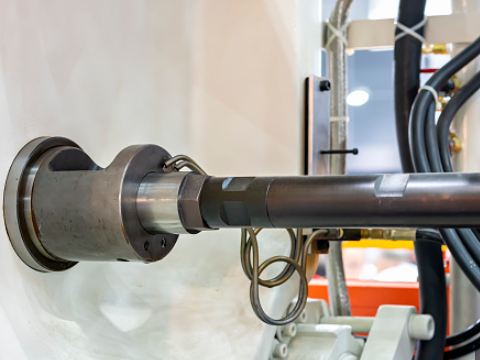
According to the plunger rod needs to be parallel to the mold axis and is spring loaded to maintain its position.
When the plunger rod contacts the opposite mold, it pushes back until the mold is closed. At which time the groove of the plunger rod is perpendicular to the mold axis, ensuring that the mold can move freely.
Preliminary Alignment
First, roughly align the piston rod with the mould’s centreline using mechanical alignment features (typically a stop pin or groove).
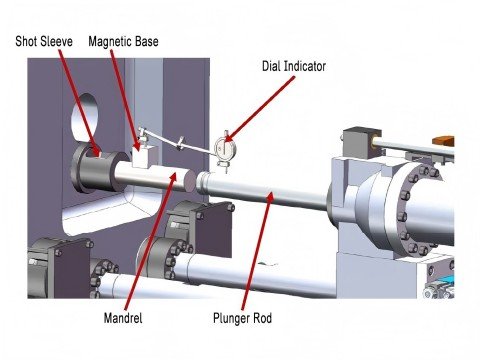
Precision Inspection
- Employ a dial indicator to measure axial deviation of the piston rod during movement. This step is critical for ensuring parallelism.
- Left/Right: Position the dial indicator on the piston rod’s left side, measure its movement trajectory, then repeat the measurement on the right side.
- Front/Rear: Similarly, measure the trajectory during the piston rod’s forward and backward movement.
Error Analysis
Compare measurement results
- Error = 0: Indicates perfect parallelism; continue use.
- Error ≠ 0: Indicates piston rod is not parallel to the mould axis; adjustment required.
Adjustment Procedure
- Fine-tune using alignment screws:
- Adjustment direction: Modify the screws based on the alignment gauge readings to reduce the error value.
- Objective: Adjust the error to zero (i.e., complete alignment) or reduce it within the machine’s permissible tolerance range (e.g., within 0.2mm).
Use appropriate lubricants and optimize plunger heads
According to optimizing the design of plunger heads and the use of lubricants. These can improve the accuracy and efficiency of the die casting process.
This includes ensuring that the plunger head fits well with the mold and avoiding production problems caused by minor defects.
Initial Inspection and Cleaning
Prior to any alignment procedure, ensure the slider rod and shot sleeve surfaces are free from rust and residual metal particles. A clean environment is fundamental to achieving precise alignment.
Physical Alignment (X-Pattern Tightening)
Gently slide the slider rod into the shot sleeve, locating the position offering the smoothest movement. Progressively tighten the fixing bolts using the cross-pattern (X-shaped) tightening method.
This process must be cycled until the slider rod operates without resistance within the shot sleeve and returns smoothly.
Laser Alignment Verification
Following physical alignment, final verification using a laser alignment tool is recommended. Alignment error must be controlled within 0.2mm; ideal alignment achieves zero offset.
Selection of Suitable Lubricants
In high-temperature molten metal environments, conventional lubricants may prove ineffective. It is advisable to employ specialised high-temperature graphite lubricants or high-performance synthetic greases.
Application: Apply only a thin coating to the contact surface between the slider tip and the barrel. Avoid excessive lubrication to prevent metal adhesion.
Adjust the range of movement of the plunger rod
According to the plunger rod can move axially in the mold, divided into a retracted position and an advanced position.
In the retracted position, the plunger rod use to fill the mold cavity. In the advanced position, the plunger rod injects metal into the mold cavity through its hemispherical tip.
Therefore, it is necessary to ensure that the range of movement of the plunger rod in different positions is correct.
Mechanical Alignment
This is the critical step to ensure the punch is concentric with the mould’s central axis.
- Rough Alignment: Loosen the bolts securing the punch rod, gently slide the punch out and manually push it back in, assessing its smoothness within the sleeve.
- Fine Alignment: While manually sliding the punch (without lubricant), check for any binding. Should binding occur, reposition the bolt holes.
- Locking: Secure the bolts using the X-shaped screw locking method (diagonal cross sequence), tightening repeatedly to ensure the punch remains concentric under load.
Travel Range Adjustment
- Configure according to injection moulding process requirements (e.g., ‘holding pressure stroke’).
- Travel Calculation: Refer to the ‘Effective Travel’ specified in national standards (e.g., GB/T 1800.1). This denotes the maximum stroke required for process compliance, typically measured in metres (m).
- Mechanical Limitation: Adjust the punch travel stop block or travel nut to set the maximum punch advancement distance (typically slightly shorter than the full sleeve length to prevent punch protrusion beyond the mould).
- Hydraulic Adjustment: Set the corresponding travel point for ‘slow injection speed’ or ‘holding pressure’ within the hydraulic control system. For example, configure the punch to reach a specific travel position at the end of the ‘holding time’.
Functional Validation
After completing alignment and stroke settings, conduct operational testing.
- Test Punching: Perform dry-run punching cycles (without metal filling) to observe whether the punch automatically retracts after stroke completion without overshooting.
- Data Monitoring: Monitor the punch displacement curve (Travel vs Time) via the machine control panel to ensure the actual stroke aligns with the set value.
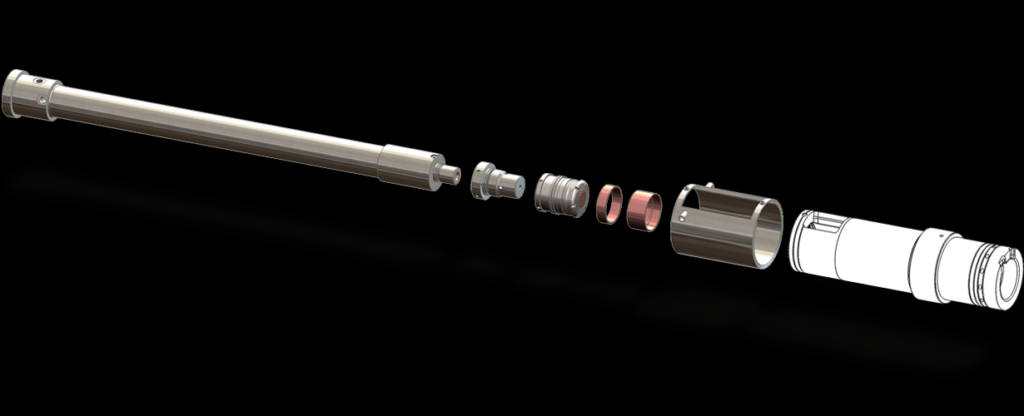
Check the mechanical connection of the plunger rod
According to the plunger rod usually fixes by bearings and guides, and uses in conjunction with screws or other mechanical components. Ensuring that these mechanical parts install and connectcorrectly can avoid the displacement of the plunger rod during operation.
Regular maintenance and inspection
According to regular inspection of the wear of the plunger rod and its related parts, and necessary lubrication and adjustment can extend the life of the equipment and ensure its normal operation.
Through the above steps, the plunger rod in the die casting machine can be effectively aligned to ensure the accuracy and efficiency of the production process.
HAICHEN’s support for Long-Term Reliability
We provide solutions to prevent and solve alignment issues.
- Solve a Chronic Leakage Problem case
- HAICHEN’s Design and Service Advantage
Solve a Chronic Leakage Problem case
A manufacturer in Izmir had frequent metal leakage from their cold chamber machine. They replaced the plunger and sleeve often, but the problem returned quickly. A HAICHEN service technician discovered the root cause: a misaligned plunger rod caused by a worn mounting bracket. We supplied a new, precision-machined bracket and guided the realignment using our procedure. After correction, the leakage stopped completely, and component life returned to normal, saving significant cost.
HAICHEN’s Design and Service Advantage
This case shows our approach. HAICHEN machines are built with precision-machined components for better inherent alignment. Furthermore, we offer clear manuals and access to genuine spare parts.
Correct plunger rod alignment is a vital maintenance task. It prevents wear, ensures quality, and eliminates dangerous leaks. The process involves safe lockout, precise measurement with a dial indicator, and careful adjustment. Neglecting alignment leads to high operating costs.
As demonstrated by HAICHEN, professional support and quality components are key to solving persistent problems. For reliable performance, follow a strict alignment procedure and partner with a machine supplier committed to long-term reliability.
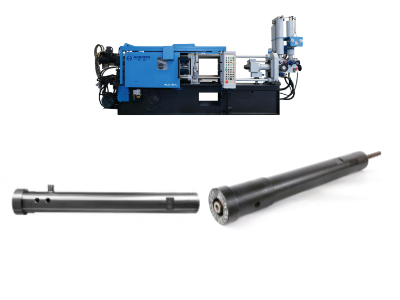
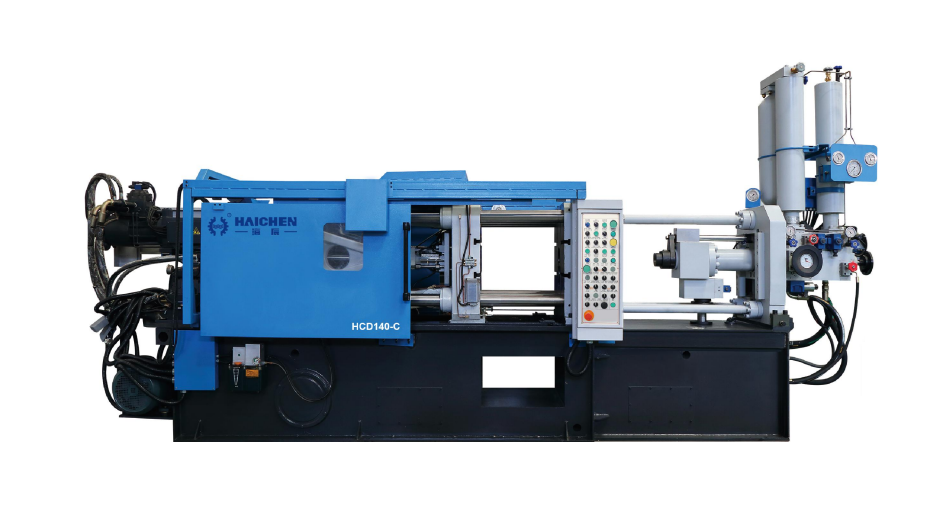
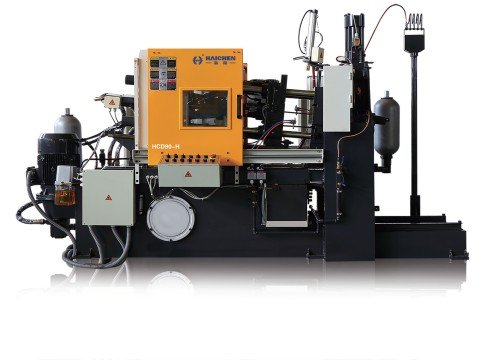
Haichen die casting machine
Haichen is one Chinese die casting machine manufacturer for more than 10years. At the same time, we produce both high pressure cold chamber die casting machine , hot chamber die casting machine and spare parts. They have durable and highly precise features.
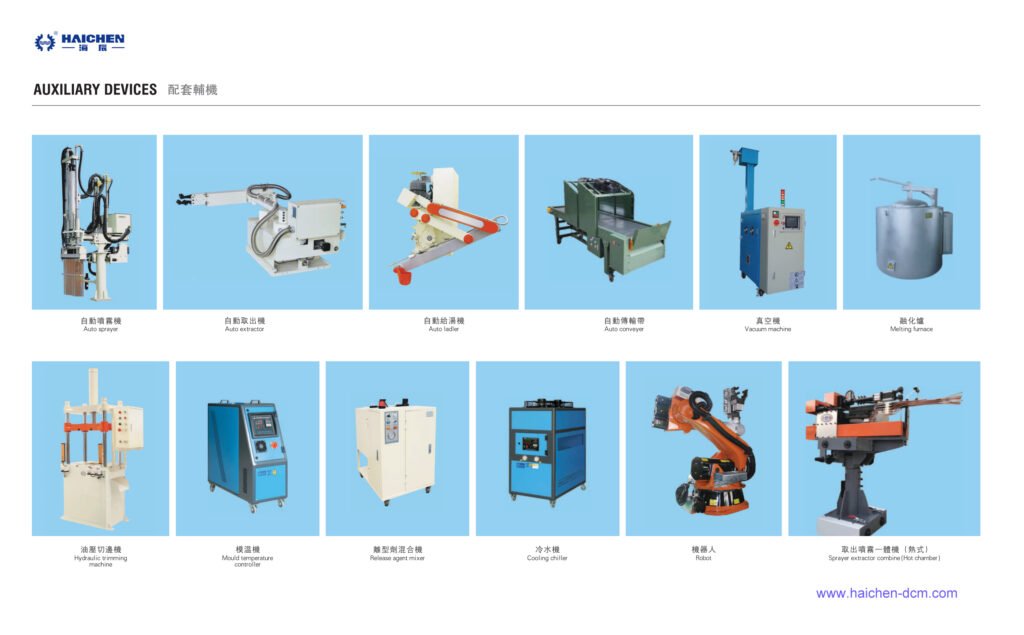
Haichen also produce die casting machine auxiliary equipment. Such as conveyor, vacuum machine, mold temperature controller, industrial robot, sprayer and so on.
We supply cold chamber and hot chamber die casting machine spare parts.
Welcome contact us.


